
Load Bearing: >30T(static)
Warranty: 12 Months
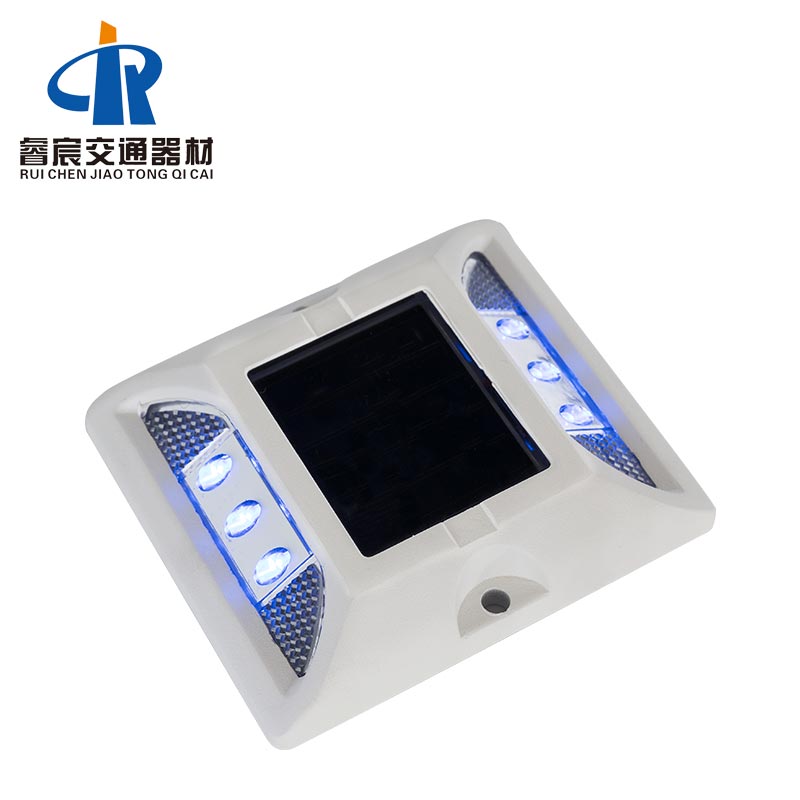
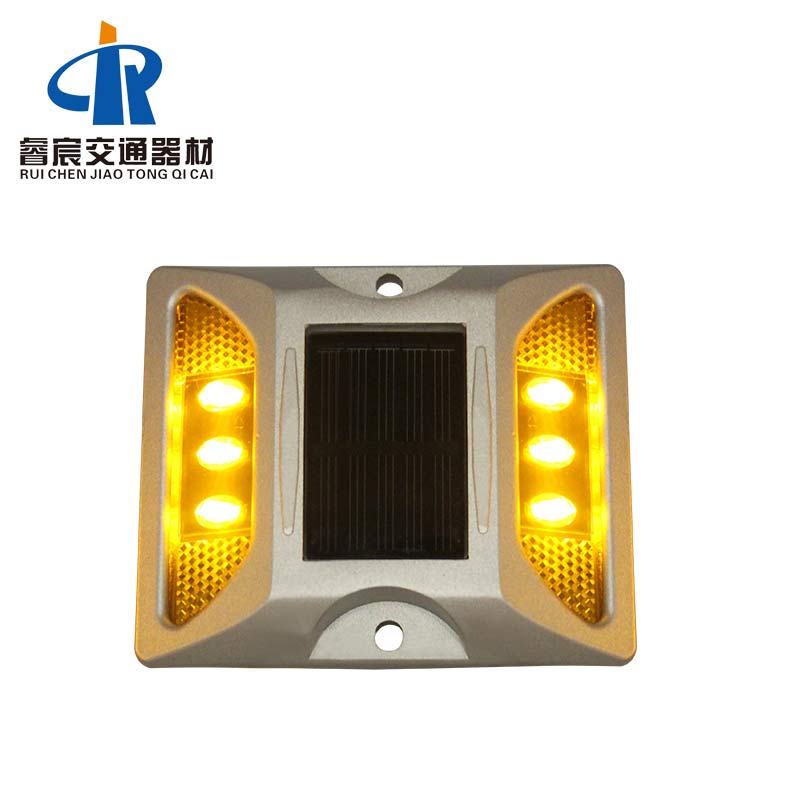
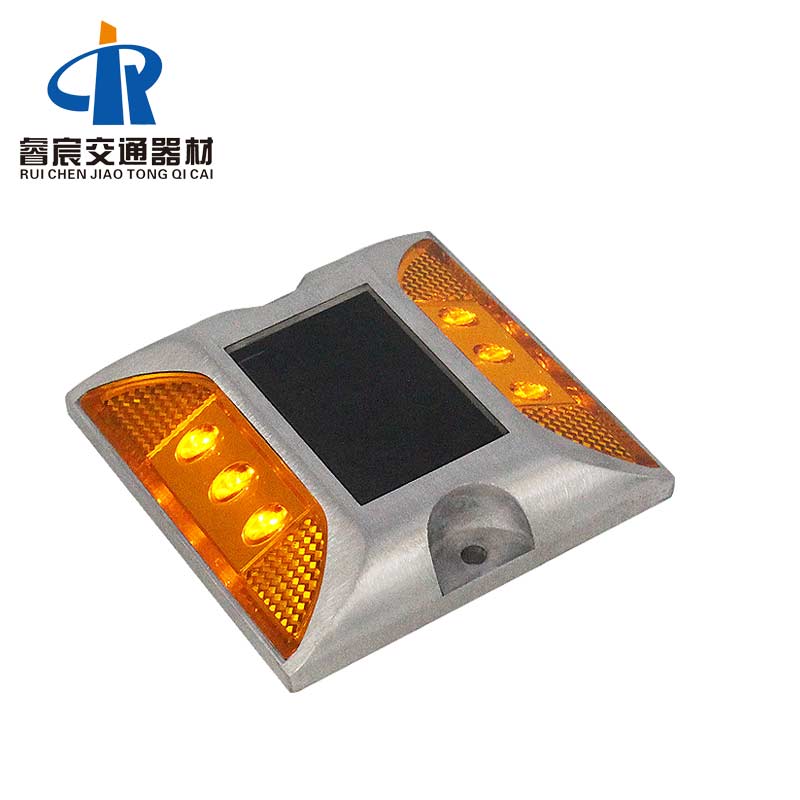
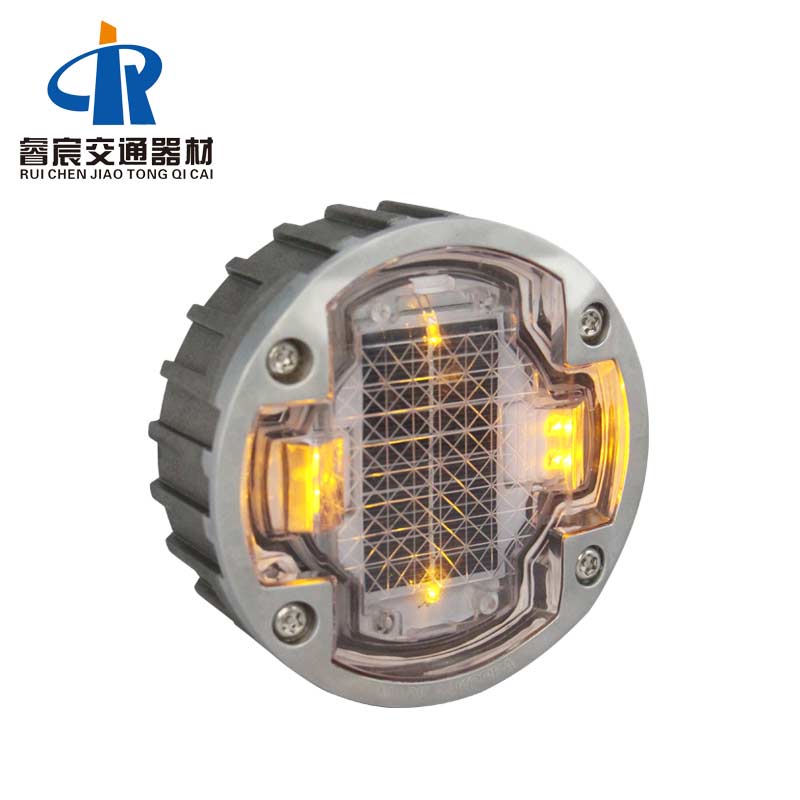
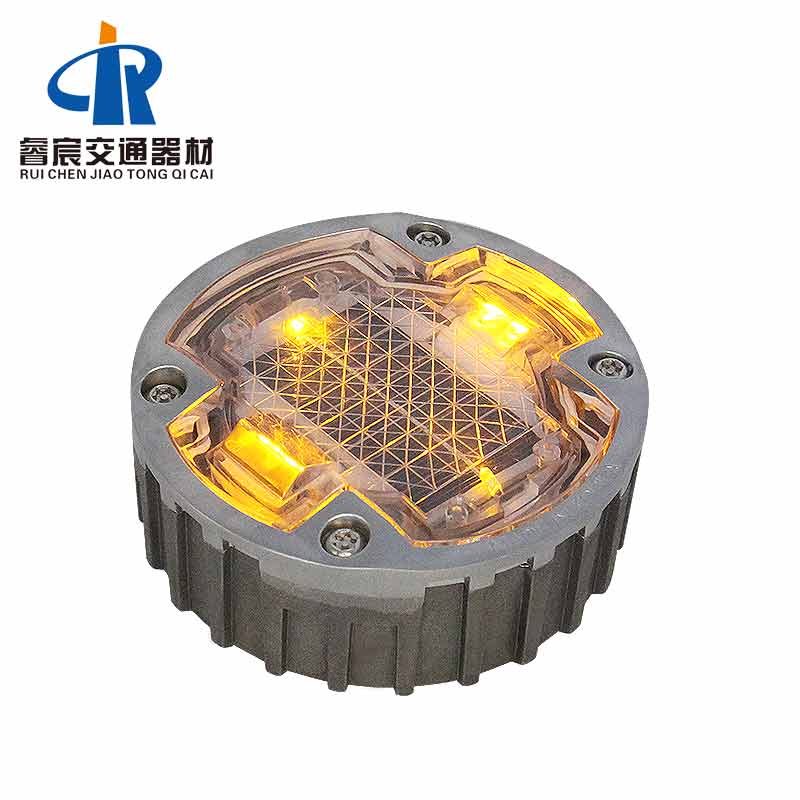
Body material: Heavy-duty casting aluminum
Battery: Lithium battery 1000mA
Visual distance: > 800m
Working Mode: Flashing or Constant
Waterproof: IP68
Aluminum Solar Road Stud Light Features:
•Up to 800 meters of visibility.
•Reliable all night, all-year-round performance.
•Totally sustainable harnessing free solar energy.
•Used where street lighting is either unavailable, Solar Road Stud not cost-effective, or environmentally impossible.
•Cost-effective, LED Solar Road Stud are easy to install and require absolutely no wires or maintenance.
•Solar-powered Solar Road Stud self-contained surface mounted.
•Solar Road Stud for road accept OEM/ODM
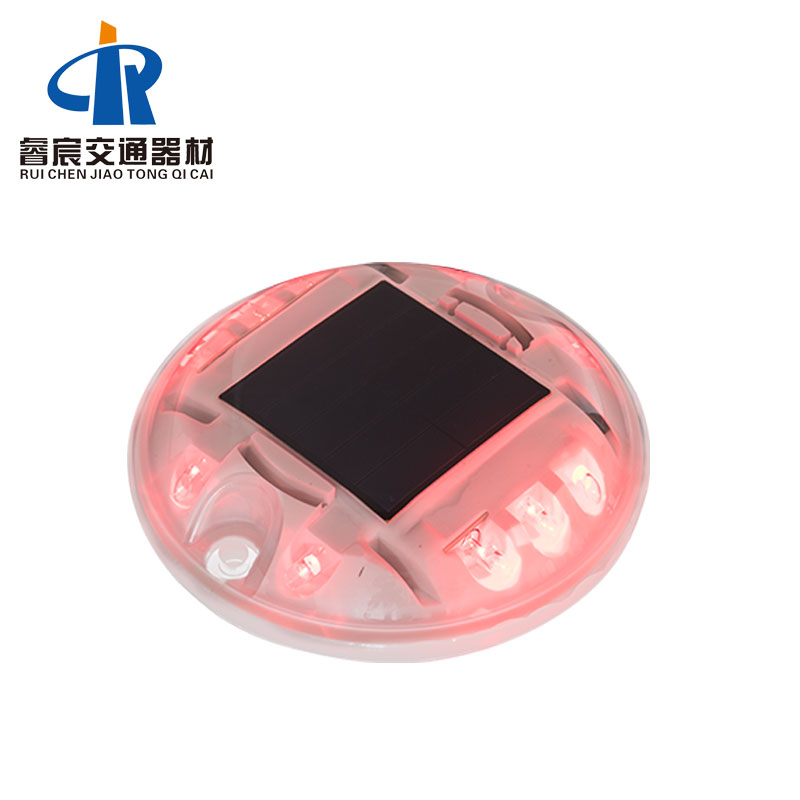
Aluminum Solar Road Stud Pavement Marker Parameters:
| Material: | Aluminium+ PC |
| Power supply: | Solar panel(monocrystalline 2.5V/0.3W) |
| Battery: | Lithium battery 1000mA |
| Working model: | Blinking or Constant Charging at daytime and working automatically at night |
| Life span: | 5 years for lithium battery; |
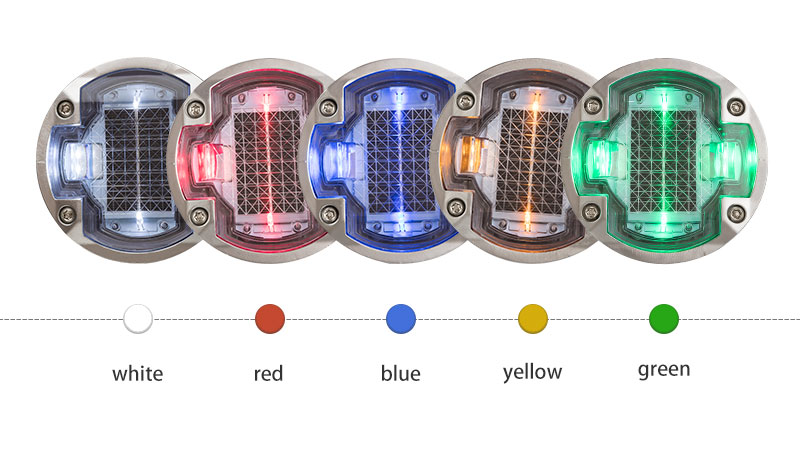
| LED colors: | Yellow, White, Red, Green, Blue |
| Resistance: | >30T(static) |
| Size: | φ123*45mm (φ4.84″*1.77″) |
| Visual distance: | >800M |
| Water poof: | IP68 |
| Carton Size: | 1pcs/box; 30pcs/ctn; Weight: 30kgs; Carton size: 67.5*28*20cm (1pcs/box; 30pcs/ctn; Weight: 66.14bs; Carton size: 26.57″*11.02″*7.87″) |
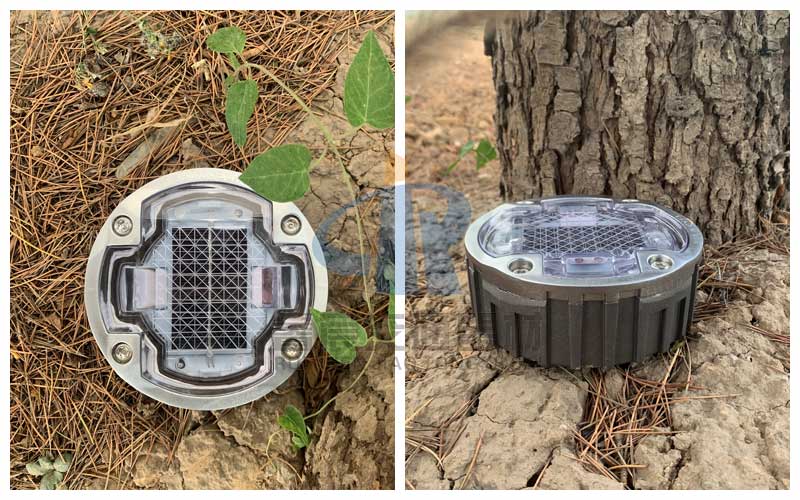
Application of Aluminum LED Solar Road Stud C3:
♥Schools and hospitals
♥Highways
♥High traffic areas
♥Walking paths
♥Transit stations
♥Parks and campuses
♥Urban Road
How to install Solar Road Stud Light Pavement Marker C3:
1.Carefully mark the distance between the placement of solar road stud lights. To prevent an adverse effect on the ground, use a proper tool such as Core Drill. Drill 125mm and depth will be 45mm.
2.Remove all debris from the installation hole.
3.Pour epoxy into the holes per the manufacturer’s instruction.
4.Verity that the installation hole is straight. Verify that the installation hole is large enough to allow the epoxy to surround the solar road stud shaft.
5.Set the lighting surface of the Solar Road Stud light to the desired viewing angle. Verify the epoxy is evenly adhering to the installation hole and solar road stud shaft.
After curing the LED solar road stud for 6-8 hours, remove the installation of the isolation facility.